Thursday, August 5, 2010

What to do with all those Romas....

I have a garden. You remember all those early blog posts when I showed you pictures of baby tomato and cucumber plants, right?

Well, it's been quite prolific this past month. And when Roma tomatoes come in, they come in force. Dozens at a time.

What's a girl to do with all those tomatoes?

Make marinara sauce, of course!

Here's what you need:

12-14 Roma tomatoes, an onion, parsley, tomato paste, ground oregano, basil, garlic, salt and pepper.

If you don't have fresh tomatoes, canned crushed tomatoes work just as well! I've tried it both ways.

If you do have some whole tomatoes to use, you have a bit of work ahead of you.

You have to peel and seed those suckers!

Bring a pot of water to a boil....


And throw the tomatoes in. Let them bob up and down for about 20 seconds....


Then throw them in an ice bath.


The skin will come right off!


Once that's done, chop them in half....


And pull out all the insides. They would really water down the sauce, and you don't want that.


In the meantime, have the onion cooking in a big pot on the stove.


So now you have a bowl full of peeled and seeded tomatoes.


You can throw them in a food processor, but I prefer a slightly more rustic method.
Hands on.
This gets messy. You definitely can't answer the phone during this step!
It's also difficult to take a picture of this step. Yikes.


Crush them until there aren't any big pieces left....


And dump in the rest of the ingredients (the exact measurements are at the end of this post).
Pour it all into the pot with the onion.


Let this simmer for about 20 minutes, then add a few splashes of white wine. I didn't actually have any open bottles when I made this particular batch, so I left this out - but you shouldn't!
One very important thing to remember when cooking with tomatoes - they are really acidic, so you should add some of this VERY secret ingredient:

Brown sugar! It really balances out the acid.
Make sure it's really well incorporated, and once it is, you have a delicious marinara sauce, ready to take on the world!

I like making a batch of meatballs and tossing them in at this point. I use this recipe by Alton Brown. I modify it slightly by using 3/4 lb. of ground pork sausage and 3/4 lb. ground round and not use lamb. I also omit the spinach. Absolutely delicious.
Marinara Sauce
12-14 roma tomatoes, peeled and seeded OR 2 14-oz cans stewed tomatoes
1 can tomato paste (use two cans if you opt for using fresh tomatoes)
4 tbsp fresh chopped parsley
2 cloves garlic, minced
1 tsp ground oregano
1 tsp sweet basil
1 tsp salt
1/3 cup finely diced onion
1/2 cup white wine
2 tbsp brown sugar
ground black pepper

Tuesday, August 3, 2010

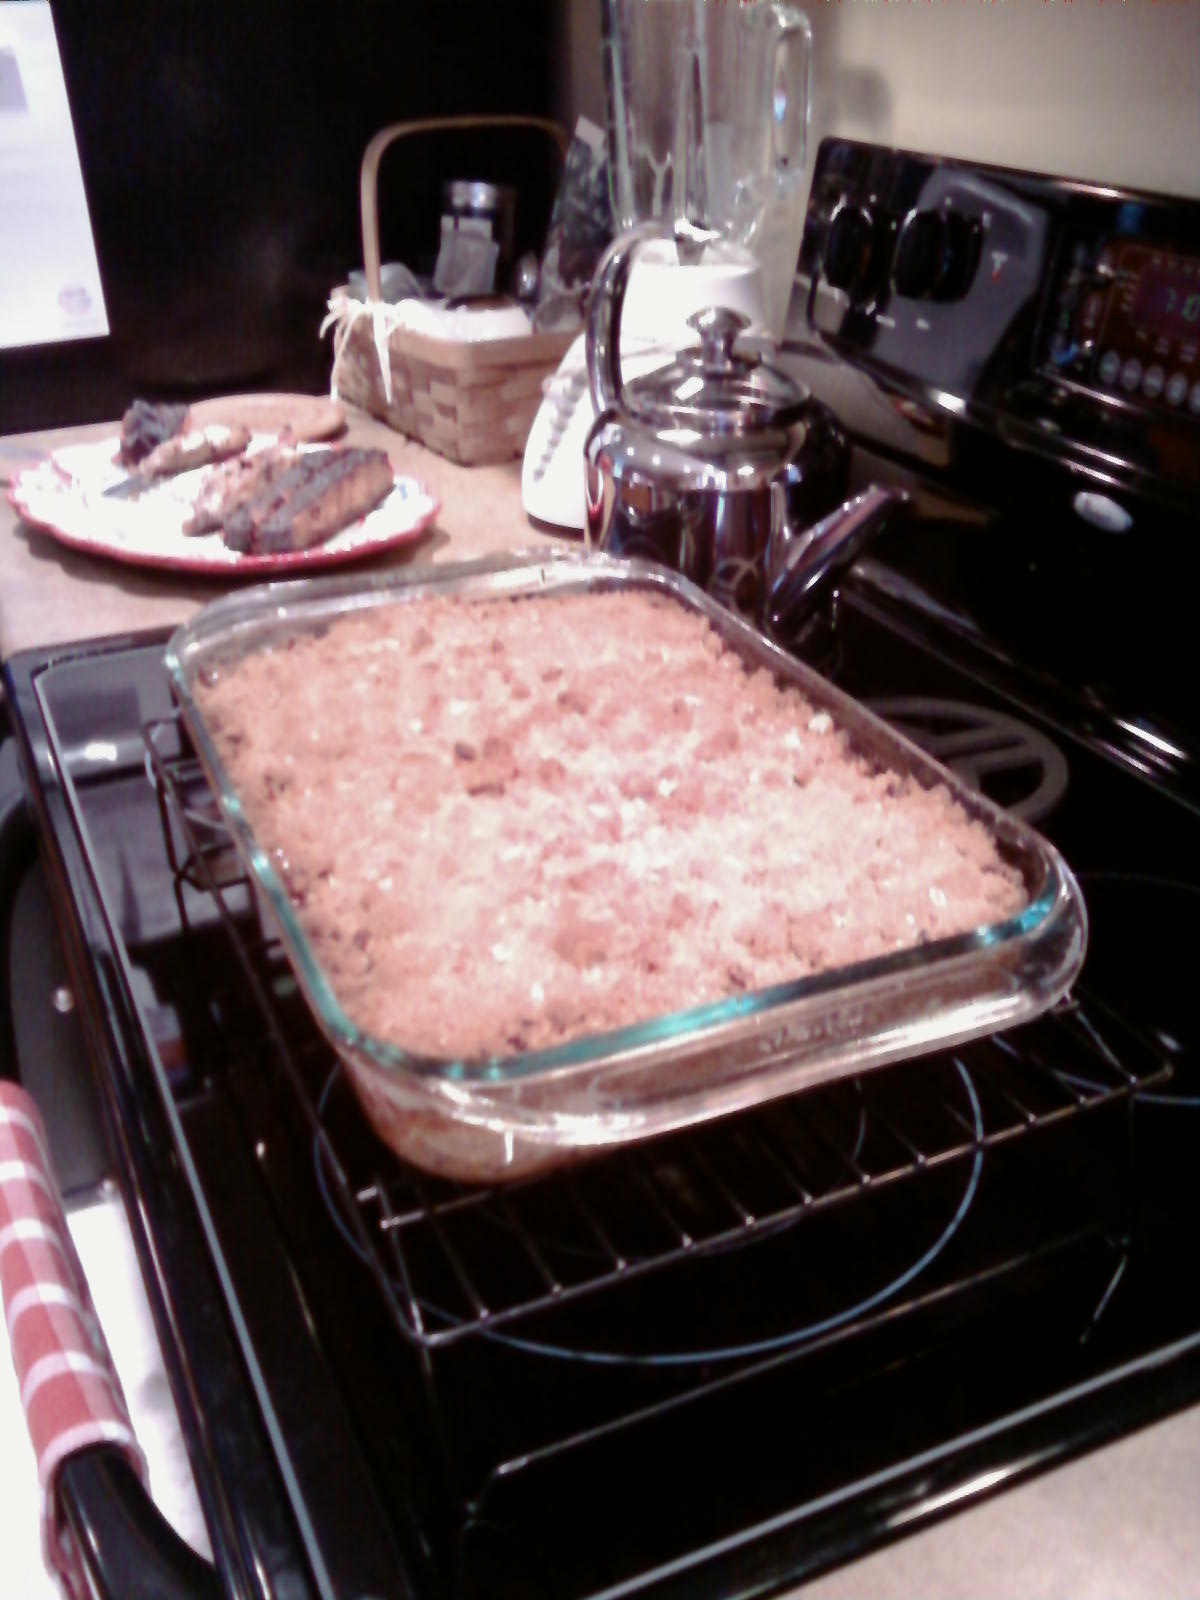
Apple Crisp...yes, I know it isn't fall yet!

Today I'm going to share with you the most delicious apple crisp I personally have ever encountered.

It all begins here.

Apples. Granny Smith. They are perfect with the sweet topping, plus they were on sale at HyVee. Score!
Wash, peel, core, and slice the apples into 1/4 inch pieces. Put these in an 8x8 or 9x13 pan (I used a 9x13 because I doubled the recipe).

Mix together flour, brown sugar, cinnamon, oats, and finely chopped pecans.


While the cinnamon's out, sprinkle some (along with some granulated sugar) on the apples and toss to coat them.


Mix softened butter into the flour mixture with your fingers. This will take a few minutes; I suppose you could also use a pastry cutter, although this ends up being more doughy than a usual topping.


Sprinkle the dough mixture on top of the apples and press it down; this is a lot of topping! You won't regret it. Trust me.


Stick it in the oven and wait patiently - this sucker takes 50 minutes to bake.


Let it rest for at least 15 to let the juices calm down. You'll be glad you did.


Then dig in! I didn't actually get a picture of the cut final product....I ate it too fast.
Whoops!


Here's the recipe (and the link to the original copy!):
Filling:
5-6 medium apples, peeled, cored, and sliced
3 tbsp granulated sugar
1.5 tsp cinnamon
Topping:
1 1/3 cups flour
1 1/3 cups brown sugar
1/2 tsp cinnamon
1 stick butter, softened
2/3 cup chopped pecans *these are a must!*
1/3 cup oats
Bake at 350 degrees for 50-55 minutes.

Monday, August 2, 2010

Salsa!

I love salsa dancing. I learned how to dance in Mexico, and so even though I'm not very good, I just love the music and the people who do it.

I also love salsa.

But I'm kind of picky. Does that surprise anyone? It shouldn't. But when you make your own food, you can be as picky as you want!

I'm picky with salsa in that it's gotta be really finely chopped and blended. No chunky salsa here, people.

But this recipe obviously works either way, if you and I are opposites!

Here's the cast of characters (the recipe is at the end):


I spent FOREVER chopping all of that, and throwing in some roasted jalapenos, salt, and pepper, as well.


This is probably perfect for most people.

Not me! It needed a spin in the food processor.


Perfect!


Let the salsa hang out in the fridge so all the flavors can get to know each other. Then grab some chips and some of your favorite people and dig in!


Salsa (from Alton Brown)
6 Roma tomatoes, chopped
4 garlic cloves, minced
2 seeded and minced jalapenos
2 roasted jalapenos, minced
1 red bell pepper, diced
1/2 red onion, finely chopped
1 tbsp olive oil
1 lime, juiced
kosher salt and pepper to taste

Friday, July 30, 2010

Bread and Butter!

I have a confession.

I am a wanna be.

I want to be an excellent baker. So I only post my successes on here! Trust me - for every blog post I am willing to share, there are at least as many mishaps. Perhaps one day I will tell you the tragic tale of the caramel corn.

But today I want to teach you how to make bread. I've tried to make bread before, to no avail. But this is so easy, even I could do it! It's yet another of my favorite recipes from Joy the Baker.

You start with 3 3/4 cups of bread flour (I used King Arthur's, of course!), 2 tsp of dry active yeast, 2 tsp salt, and 1 1/2 cups warm water. Toss it all into a mixer and beat with the paddle until it all comes together.

Switch to the dough hook, mix for two more minutes, and let it rest for 5 minutes. Then mix it again for 3 minutes. I don't know why; I just followed the instructions. And good things happened.


Take it out and knead it, using additional flour. It should be smooth and gorgeous...like this! Put it in an oiled bowl, and turn it so that all sides of the dough are lightly coated. Cover it with plastic wrap and a towel, and let it rise for an hour and a half. Punch it down, and let it rise for another half hour.


Prepare a floured surface....


And dump the beautifully risen dough onto the counter!


Separate the dough into two halves, and form them into rounds. Cover them with a damp towel and allow to rise for 45 minutes to an hour.

Preheat the oven to 450 degrees, and during the last 20 minutes of rising, put a baking sheet upside down in the oven. Put the dough onto the sheet and score them to allow them to expand. I use a razor blade - it is way sharper than knives and doesn't drag the dough as much.


Right after popping these in the oven, I tossed 1/4 cup of water onto the oven floor to create steam. I repeated this a couple minutes later.
After baking for 20-25 minutes, these little guys will be ready for you!


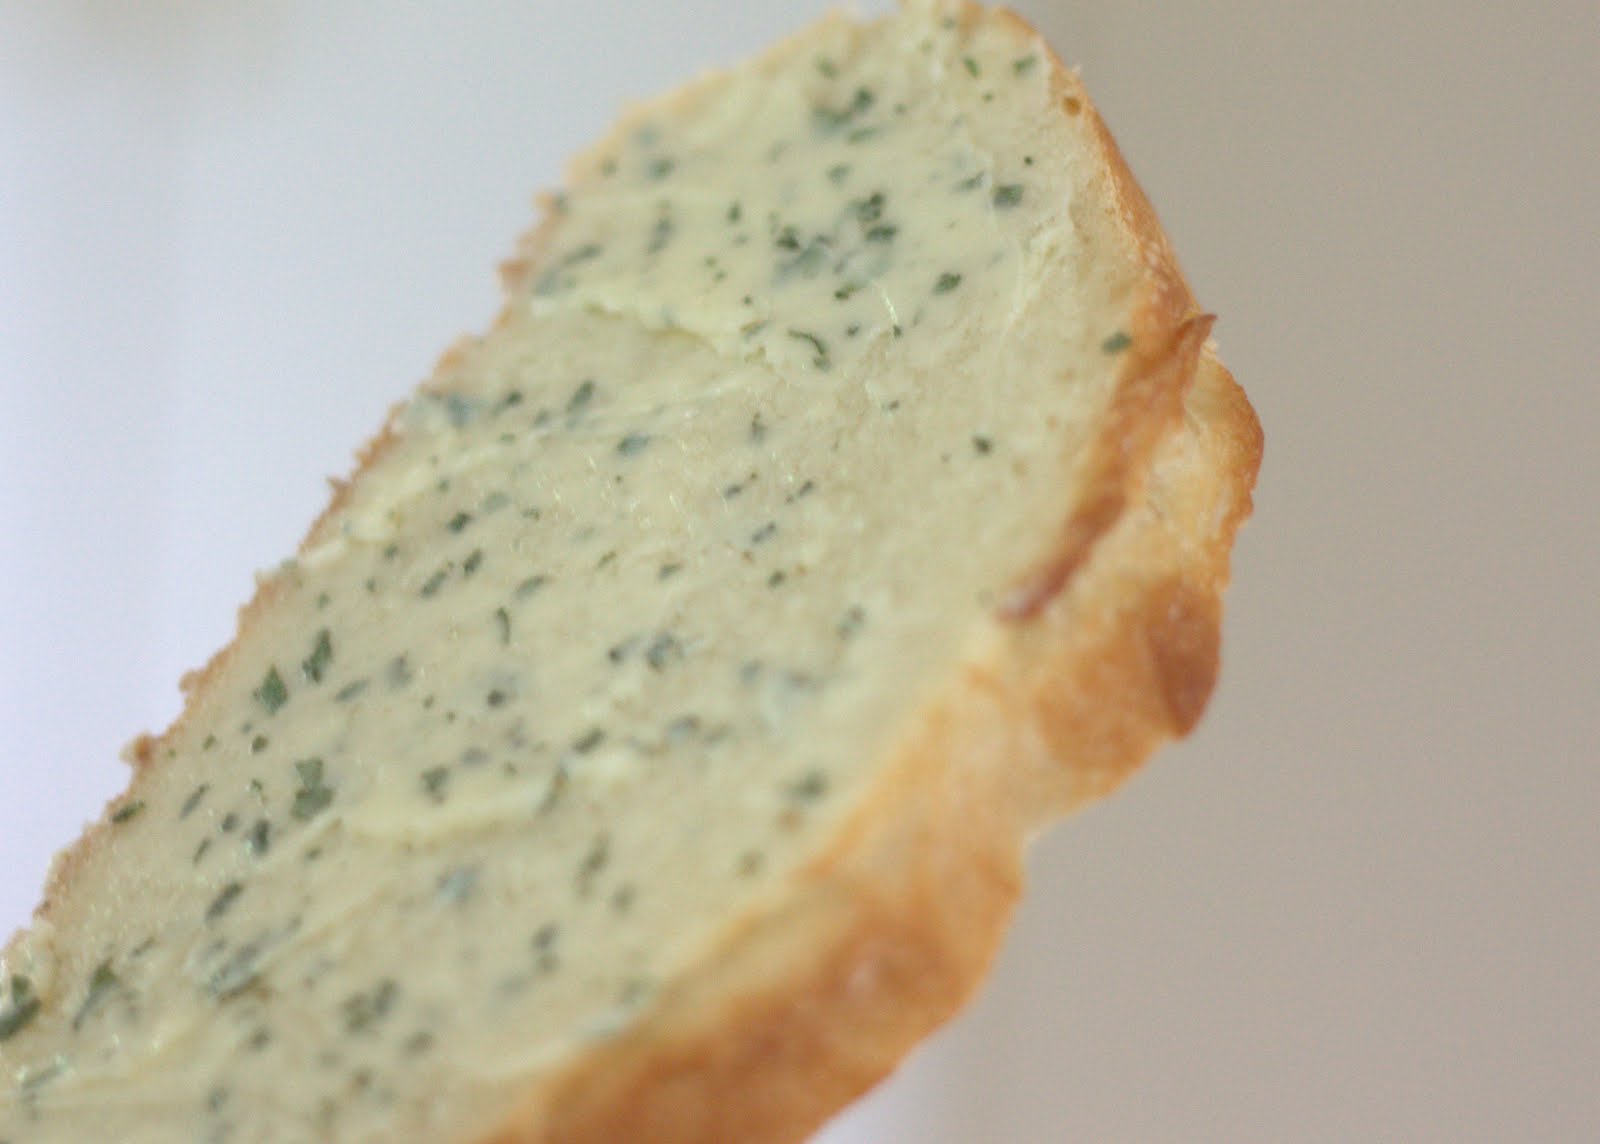
While the bread was baking, I took the opportunity to whip up some butter (again, Joy the Baker inspired me). I took 2 cups of heavy whipping cream and beat them with the wisk attachment until the butter had separated from the buttermilk. I strained it and rinsed the butter under cold water and then added some sage from my garden. So easy!
This is the tasty result:


Thursday, July 29, 2010

Paige vs. the Cabinet

I built a cabinet last week.

Never mind the fact that it came in a box from Target and had predrilled holes.

Never mind the fact that it took me 2 hours, although the box said it could be done in "minutes."

Never mind the fact that, after spreading everything out and looking at this mess, I said to Natalie, "This is a job for a man."


I quickly came to my senses. I have a hammer! I have a screwdriver! I can do it!

So I read the directions....


And I began.

Eventually it started looking like a cabinet.


Two hours later, I had this beautiful cabinet with swinging doors to house all my baking supplies! It's perfect.


Next up: bread and butter. Get excited.

Monday, July 19, 2010

Homemade Cheez-Its

Why should you spend your evening making these delectable treats instead of just running out to the grocery store?

Because you can. And you should. And they are 10 times better and healthier (don't read the ingredients too carefully....). Oh, and they have red pepper flakes in them, so they've got a kick. Delicious.

You start by grating a lot of cheese. Get your muscles ready.


Mix the cheese with flour, red pepper flakes, salt, and butter (the amounts are at the end of this post). I used a pastry cutter; the original recipe suggested a food processor (I definitely don't have that luxury).

It should look like this when you're done.


Add the milk....

And it will come together in a beautifully cheesy ball of dough.


Roll it out with a rolling pin (or your hands, or a glass, if you don't have a rolling pin....) until it's about 1/4 - 1/2 inch thick.


Trim the edges. I saved them and rolled them back out later.
I cut the dough into strips, because the original recipe is for cheese straws, and I wanted a mix of straws and squares.


I transferred these to a baking sheet and stuck them in the oven.


Then I rolled out the edges from the first batch (I tried to make these even thinner than the straws) and cut those into little 1-inch squares. I poked the tops with a fork so they wouldn't expand too much.


Cute!

These really taste similar to a cheez-it, but they are so much better. They bake up to be slightly puffy and flaky. You need to make these, ASAP.


Homemade Cheez-Its

1 1/2 cups grated sharp cheddar cheese

4 tablespoons unsalted butter, cut into 4 pieces

3/4 cup flour

1/2 teaspoon salt

1/2 teaspoon crushed red pepper flakes

1 tablespoon milk

Bake at 350 degrees for 12-15 minutes.